Burger Buns

Burger bun-9

My husband wanted to cook some burgers, and asked me if I had time to make some buns – of course! I went looking for recipes, and the one that looked the best was an enriched bun from the King Arthur Flour homepage.

I only changed one thing and used slightly less sugar than originally called for.

Ingredients (original recipe):

  • 1 cup lukewarm water ( 225 ml)
  • 1 tbsp instant yeast
  • 2 tbsp sugar
  • 2 tbsp butter, melted and cooled (30 g)
  • 3 1/2 cup all purpose flour (420 g)
  • 1 egg
  • 1 1/4 tsp salt
  • For decoration: 2-3 tbsp melted butter or eggwash
  • Sesame or other seeds

Method:

1. Dissolve the yeast in the water and add the sugar.

Burger bun-1

2. Add the rest of the ingredients and mix.

Burger bun-2

3. Knead until a smooth dough forms. I found this dough is really easy to work with.

Burger bun-3

4. Put the dough in a bowl and cover, let rise until doubled in size, about 1 hour.

Burger bun-4

5. Punch down the dough and knead through.

6. Divide the dough into 8 pieces and form each to a small roll.

Burger bun-5

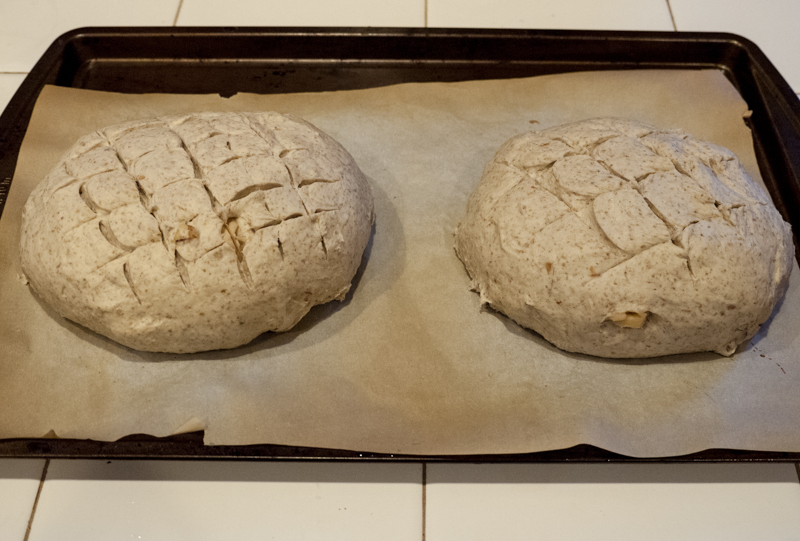
7. Place the buns on a parchment coved baking sheet with plenty of space in between and press down each bun until it is 3 inches/8 cm across and flat.

Burger bun-6

8. Cover and let rise for about an hour.

9. Preheat oven to 375 F/190 C.

10. Brush with half the melted butter or eggwash, and top with seeds (if using seeds you are better off with eggwash).

I didn't have any sesame seeds so I used flax seeds. I really liked the contrast.

I didn’t have any sesame seeds so I used flax seeds. I really liked the contrast.

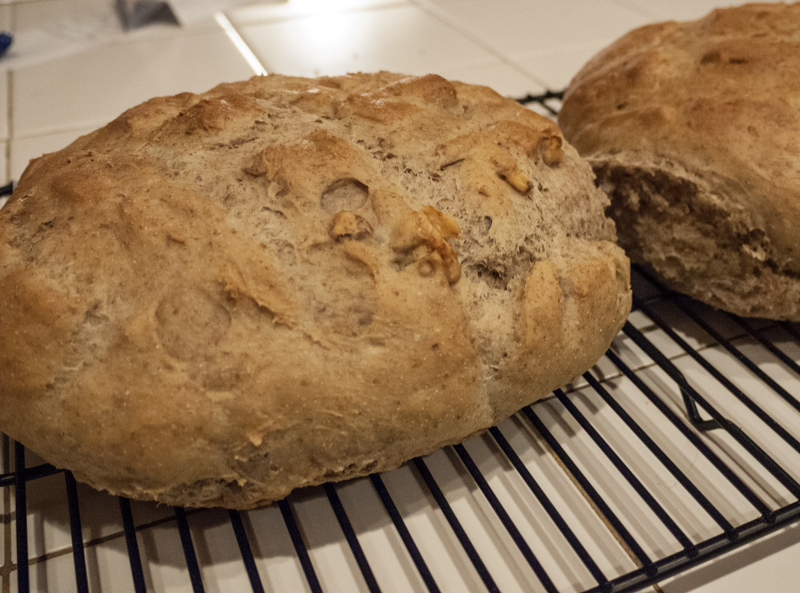
11. Bake for 15-20 min until golden. Transfer to a wire rack.

12. Brush with the rest of the butter and cool.

Burger bun-8

I realized later that brushing with butter would not make the seeds stick, you need to use an eggwash or press them really firmly into the dough. Besides that, they were great. They are quite sweet and rich, but I think that works well with a burger.

Happy baking and grilling!

Hveder

hveder-11

Hveder are Danish holidays rolls, literally ‘Wheats’ eaten at ‘General Prayer Day’ (Store Bededag). It is a holiday dating from 1686 as a collection of a number of minor Roman Catholic holidays which survived the Reformation (the transition of Denmark from a Roman Catholic country to a Protestant country), merged to one day. It is held on the 4th Friday after Easter, and is a bank holiday – everything is closed.

Most people in Denmark are not very avid church goers, but as Danish Protestantism is the state church, most people belong to it, and does some observations of the holidays, regardless of how much of the faith the choose to include in the celebrations.

When the holiday was introduced, work, travel, trade, gambling and play was forbidden, which meant bakeries was closed. Bakers would bake these rolls for people to buy Thursday evening for the next day. Today, most people eat them fresh Thursday evening as well as Friday morning, and they are great toasted.

The Hveder themselves were a specialty for a long while, and probably not common in the average population even when the holiday was introduced. Most people ate rye breads, as wheat did not grow well in most of Denmark due to the cold climate. It was only later more hardy species of wheat was introduced, and it was still an expensive specialty. Besides being made from wheat, the rolls also are made with butter, egg and milk, so they are an enriched bread, though not as much as challah or brioche.

This year, the Danish newspaper Politiken ran an online article (source of most of this information!) on them, with a bunch of recipes. I decided I should make some, even if the holiday had long past.

Ingredients: (Original in Danish from politiken.dk)

  • 500g bread flour* (17.6 oz, about 4.2 cups)
  • 100 ml milk (0.4 cups)
  • 100 ml water (0.4 cups)
  • 50g butter (about 1/2 stick)
  • 50g yeast cake (3 tsp active dry yeast)
  • 1 tsp salt
  • 1 tsp sugar
  • 1 egg
  • 2-3 tsp ground cardamom
  • milk for brushing

*Though you don’t normally use bread flour a lot in Denmark, it is well suited to these rolls, as they are meant to rise a lot.

Method:

1. Gently melt the butter and mix in the milk and water. Transfer to a mixing bowl and let stand until lukewarm ( 90-100 F / 32-37 C).

hveder-1

2. Beat the egg together.

3. Add the yeast to the lukewarm butter, milk and water mixture and mix well until dissolved.

hveder-2

4. Mix in the sugar, flour, salt, cardamom and egg.

hveder-3

5. Transfer dough to a work surface and knead well, about 5 min or more. This dough does not have a high water content, so it will feel a little hard.

hveder-4

6. Form a ball and place in the bowl, cover with film and let stand to rise until doubled, about 30 min.

hveder-5

7. Punch down dough and knead well again.

hveder-6

8. Spilt the dough into 12 equal pieces, and form small rolls from them.

hveder-7

9. Place the rolls fairly close together on a baking sheet, they should be touching when they are done rising. I ended up with mine just a little too far apart. Let rise for 20-30 min more.

hveder-8

These ended up a little too far apart

10. Preheat oven to 390 F/ 200 C. If your oven is part of your stove, it is great to let the rolls rise on top of your stove for some extra warmth.

11. Brush the rolls with milk.

hveder-9

12. Transfer to oven and bake for 20 min, until risen and golden.

13. Let cool and break apart to eat. Toast well if you eat them the next day.

Someone couldn't wait

Someone couldn’t wait

I was happy with how these turned out, it is an easy luxury bread. They are traditionally a little more square, but they were well risen and delicious.

Buttermilk Scones

scones-6

There a lot of different recipes on scones out there, and not everyone agrees on what is meant by scones. This is adapted from a recipe in Wenche Frølich’s Brød on Irish Scones, and they are not like the sweet scones you get at Starbucks and similar, but not quite like biscuits either. I changed the milk in the original recipe for buttermilk, as I think it gives a much more moist and flavorful scone.

Ingredients:

  • 300g all purpose flour ( 10 1/2 oz)
  • 2 tsp baking soda
  • 1 tsp salt
  • 100 g cold unsalted butter (3.5 oz, almost a one stick)
  • 200 ml buttermilk (scant 1 cup)

Method:

1. Preheat oven to 225 C/ 440 F

2. Mix all the dry ingredients – flour, salt, baking soda.

3. Cut the cold butter into small pieces, and add by working through the dough with your fingers and squeezing the butter into the dough. There should still be lumps of butter left, and in the end the mixture should be lumpy.

Butter in pieces

Butter in pieces

Working through the dough

Working through the dough

Done

Done

4. Mix in the buttermilk, and knead lightly until a dough forms. You don’t want to over-knead and have the butter be worked completely in.

5. Form 2 flat round breads on a parchment lined baking sheet. Cut the breads into 4 parts, and prick the surface lightly with a fork.

Form the breads

Form the breads

Cut them into scones

Cut them into scones

6. Bake for 15 min.

7. Transfer to a wire rack and let cool a little and then break apart.

scones-5

These are definitely best when they are newly baked (and takes less than an hour to make), but they can also be toasted slightly and reheated later. You hardly need any butter on them as they are pretty buttery all ready, they are great just with jam.

Sourdough bread – take 2

sourdough-12

As I wrote about earlier, I tried 5 & Spice’s recipe for sourdough bread and was partial successful. I updated how I maintained my sourdough and tried making it again the other day, this day with more success.

I had fed the sourdough starter the day before, and left it out that night. Next day it was nice, risen and ready to use. I mostly changed what I did on day 2, leaving it out much longer. The bread was not uniform as the original recipe, but with some large holes in it, I am not sure if it rose too long in the end, but it was much less dense and just as moist.

Here is the recipe again, for reference, and the steps I ended up doing, still very close to the original.

  • 200 g sourdough starter (1 cup)
  • 400 g bread flour (3 cups)
  • 8-10g salt (2 tsp)
  • 300 ml room temperature water (1 1/3 cup)

Method:

1. Stir together sourdough, flour, salt and water and mix well. It is pretty sticky. Turn the dough out on a working surface and see if it might need a little more flour, but be careful, it is a sticky dough at this point. (I know that where I store my flour it ends up having a high moisture content, so I usually need to add a little more flour than a recipe calls for).

sourdough-1

2. Stretch the dough to a rectangle, and then fold one end 1/3 over the piece, then again with the other end, so you end up with a 3 layer rectangle. Turn the dough 90 degrees and fold again. You can’t really see the layers at this point, it is that sticky.

sourdough-2

3. Oil a clean bowl, and put the dough to rest in it and cover with plastic wrap. Leave it to rest for 1 hour.

4. Take the dough out and repeat the stretching and folding like before, 3 layers one way, 3 layers the other way. Put the dough back in the bowl, cover and let rest for another hour.

5. Repeat the folding again, the dough should be less sticky now. Rest for another hour.

sourdough-4

6. Stretch and fold again and put the dough in a large, clean bowl. Cover with a damp towel or plastic wrap and and rest overnight in the refrigerator.

sourdough-6

7. Take the dough out of the refrigerator the next day, about 2-4 hours before you want to bake. Now is a good time to pull a little of the dough from the top to put back in your starter, if you like to do put developed dough back in there. Be sure to close it up nicely. Let it stand to rise at room temperature for about 2-3 hours. It should be puffed up a little bit.

sourdough-7

8. Turn the dough out on your work surface, stretch it and form a round loaf.

9. Dust a cutting board with corn meal and place the loaf there. Let rest for another 1 hour or so. Score the top of the bread.

sourdough-8

10. Preheat your oven to 475 F/ C and put a Dutch oven in there.

11. When the oven is ready, take the Dutch oven out, and take off the lid. Careful, remember this is all really hot! Gently life the bread up and put into the Dutch oven and put the lid back on.

12. Bake with the lid on for 25 min, then take the lid off and bake for another 10 min.

13. Take the Dutch oven out, and carefully take the bread out ( I used grilling thongs). Remember, HOT!

14. Put the bread on a rack to cool

sourdough-11

I was pretty happy with this, and so was the family, it was perfect with some potato leek soup. It was not perfect, however, I might try some other sourdough recipes next to compare.

Soup and bread  - perfect toddler meal!

Soup and bread – perfect toddler meal!

Broa – Portuguese Corn Bread

soup

I wanted to find another bread to make to go with some soup, and found a recipe for a corn bread in Wenche Frolichs Brod, my go-to recipe book.

I love corn, and all sorts of corn breads. American ones are great (I have yet to try and make that, sugar or no sugar?) but corn is used in a number of different types of bread. Our baker in Copenhagen had a basic white bread with some added corn flour, it had a great sweet taste.

This bread is a little more hearty, and has quite a bit of corn in it. It doesn’t require a lot of kneading and is simple to do.

Ingredients:

  • 225 g corn meal (8 oz)
  • 1 1/2 tsp salt
  • 250 ml boiling water (1 cup)
  • 1 tbsp olive oil + extra
  • 2 1/2 tsp instant dried yeast (15 g yeast cake)
  • 1 tsp sugar
  • 50 ml warm water (scant 1/4 cup)
  • 250-300g all purpose flour (9-10.5 oz)

Method:

1. Mix half the corn meal with the salt and pour over the boiling water. Mix well, add the olive oil and let stand until lukewarm.

Pouring the boiling water over the corn meal

Pouring the boiling water over the corn meal

2. Mix the yeast with the warm water and add the sugar. Let stand until doubled in volume.

Yeast, water and sugar just mixed

Yeast, water and sugar just mixed

Yeast mixture after 10 min

Yeast mixture after 10 min

3. Combine the yeast mixture with the corn/water mix and add the rest of the corn meal while stirring. Add about half the all purpose flour like that as well.

Initial mixed dough

Initial mixed dough

4. Let the dough rise until doubled, about 30 min.

Risen dough

Risen dough

5. Turn the dough out on your work surface and knead well, adding as much all purpose flour as needed to make it come together and not be sticky.

6. Form a round bread and let it rest under a tea towel for 30 min. Preheat the oven to 350 F/175 C.

corn bread-6

7. Score the bread with a sharp knife in a diamond pattern and brush with olive oil. Bake for 40 min, or until the bread sounds hollow when tapped.

Ready

Ready

All done!

All done!

It turned out a little heavier than I expected, maybe next time I will leave it to rise longer, or use a higher percentage of wheat flour to make it lighter. It might also be a good idea to use bread flour instead of regular all purpose flour. It tasted great though, and went well with the cauliflower soup my husband had made.

Walnut bread

walnut

This delicious bread is adapted from Wenche Frølich’s Brød (yep, another one). It is great with dinner, or with lunch meats or cheeses.

The original recipe calls for rye flour, I have made it both with that and with whole grain (wheat) flour, both ways turn out delicious.

Ingredients:

  • 500 ml water (2 cups and a bit)
  • 50 ml oil, preferably walnut oil (0.2 cups)
  • 25 g yeast cake or 1 dried yeast envelope
  • 1/2 tbsp salt
  • 225 g dark rye or whole wheat flour (8 oz)
  • 500g all purpose flour (17.5 oz)
  • 75g chopped walnuts (2.5 oz)

Method:

1. Heat the oil and water to lukewarm, about 90 F/ 30 C. Pour the liquid over the yeast in a large mixing bowl (pull the yeast cake apart first if using fresh yeast).

Heating oil and water.

Heating oil and water.

2. Add the salt and the flours. Mix the dough well and knead for a short while.

3. Let the dough rise under a towel for 45 min.

Risen dough

Risen dough

4. Knead the dough well, until elastic. Add a bit more all purpose flour if necessary. Add the walnuts and knead them in until well mixed.

Adding the walnuts

Adding the walnuts

5. Spilt the dough into 2 parts and shape each to a round bread. Place the bread on sheets and score the breads in crosswise pattern.

shaped breads

Shaped breads

6. Let rise under a towel for 30 min. Preheat the oven to 200 C/390 F

7. Brush the breads with water and bake for about 30-40 min, until the sound hollow. Cool on a rack.

All done!

All done!

I made these to eat with some soups we made this week, I made a great artichoke soup and my husband made carrot soup – modernist cuisine style. The recipe makes 2 breads, and 1 bread feed about 4 adults as a side to a dinner – probably 6 people if you have more sides.

Naan breads

Naan breads

Naan breads are Indian breads cooked in a Tandoor oven. I always order them when eating at Indian restaurants, and enjoy eating them when I cook Indian themed food myself. The ones you can buy pre-made are not really that great, though, so I try to make them myself.

You can’t get the special taste of cooking them in a real tandoor that you would get in a restaurant, but this recipe from Wenche Frølich’s Brød comes pretty close. They are fried on a stovetop before finished off in an oven.

This recipe is interesting, since normally naan bread is a yeast bread, but this is made with baking powder. It is still left to rest for a significant amount of time – the original recipe called for 3.5 hours. It is not as the bread will rise, but I assume the yoghurt will start some biological process with gluten – I have not looked into the science behind this. I made these twice recently, and the second time I did not have time to let them rest for more than 1.5 hours. They still turned out fine, but they were a little tougher.

Ingredients

  • 375g all purpose flour ( 13 1/4 oz)
  • 1 3/4 tsp baking powder
  • 1 1/2 tsp sugar
  • 3/4 tsp salt
  • 200 ml yogurt (scant 1 cup)
  • 1 tbsp oil
  • 1 large egg (lightly beaten)

Method

1. Mix the dry ingredients together and add the rest. Mix well and knead for a couple of minutes

Mixing

Mixing

2. Leave to dough to rest for 3.5 hours, though shorter will do. The dough will not rise.

Resting the dough

Resting the dough

3. Turn on your oven on broil. Form the dough into a short roll, and cut into 6 pieces. Strech each piece to a triangle shape.

Forming the breads

Forming the breads

4. Brush one side with water, and fry them on the stovetop for about 2 minutes wet side down, until crispy brown on the back.

Frying the breads

Frying the breads

Nice and browned

Nice and browned

5. Put the breads on a sheet, and bake under the broiler until brown on the top and nicely risen – about 7-10 minutes (but broilers vary, so keep an eye on them!). I made 2 at a time like this.

6. Wrap the breads in a tea towel until all are done, and eat while still warm.

I made these for Simply Recipes’ Red Lentil Dal, which I modified for the slowcooker and played with the spices a bit. Two hints here: Don’t skip the nigella seeds, even if you can’t get panch phoran, and the red lentils needed more than 4 hours on low (this was what I saw in slow cooker lentil recipes), probably closer to 6 or 3 hours on high? (I ended up with 4 on low, 1 on high). Dal is such a great winter comfort food, and my son loves it. There are many different ways to make and spice it, what is your favorite?