

Last week I saw this post, and thought that looked like a really good bread. I also wanted to find a good recipe and opportunity to do an all wild-yeast sourdough white bread (many recipes I see use commercial yeast in addition to your sourdough).
I tried making it, and I wouldn’t say I was 100% successful. I have a few things I would do differently along the way when I try next time, and I think my sourdough might have been a little too inactive.
I started out by removing half the starter and feeding it the day before, this should make it less sour in taste. I did see yeast development, but maybe not enough.
Here is the recipe and how I did the steps, original at 5 & Spice.
Ingredients:
- 200 g sourdough starter (1 cup)
- 400 g bread flour (3 cups)
- 8-10g salt (2 tsp)
- 300 ml room temperature water (1 1/3 cup)
Method:
1. Stir together sourdough, flour, salt and water and mix well. It is pretty sticky. Turn the dough out on a working surface and see if it might need a little more flour, but be careful, it is a sticky dough at this point. (I know that where I store my flour it ends up having a high moisture content, so I usually need to add a little more flour than a recipe calls for).

Ingredients

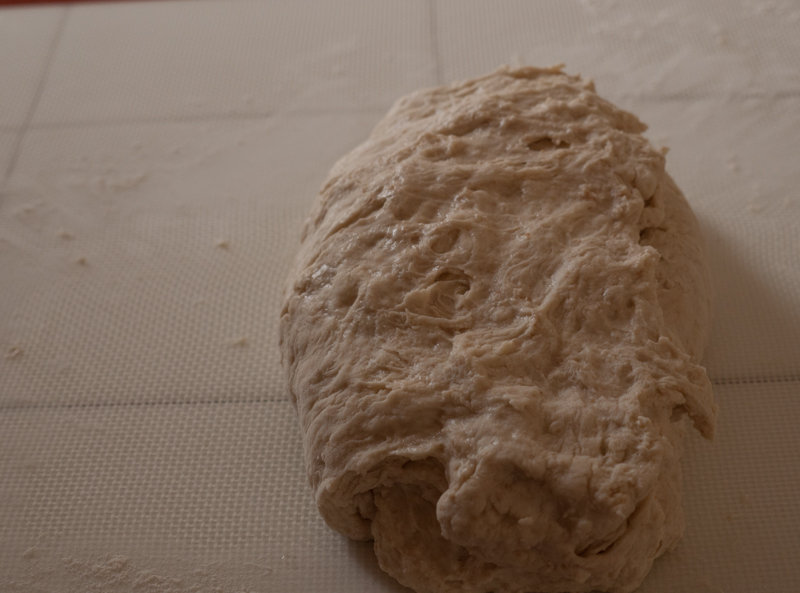
Sticky dough
2. Stretch the dough to a rectangle, and then fold one end 1/3 over the piece, then again with the other end, so you end up with a 3 layer rectangle. Turn the dough 90 degrees and fold again. You can’t really see the layers at this point, it is that sticky.

Folded once
Folded twice
3. Oil a clean bowl, and put the dough to rest in it and cover with plastic wrap. Leave it to rest for 1 hour.
4. Take the dough out and repeat the stretching and folding like before, 3 layers one way, 3 layers the other way. Put the dough back in the bowl, cover and let rest for another hour.

Folded again
5. Repeat the folding again, the dough should be less sticky now. Rest for another hour.

Stretching, this time less sticky
6. Stretch and fold again, but when done fold the corners of the dough under to form a round shape and place on your work surface.

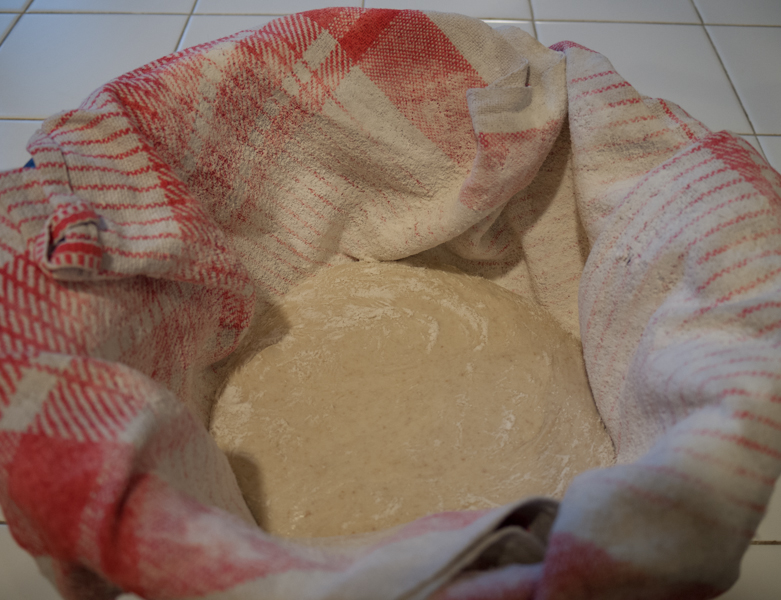
7. Rub a bunch of flour in a linen towel and use that to line a large, clean bowl. Put the dough in there, cover with a damp towel and rest overnight in the refrigerator.

Towel with flour

Ready for resting
8. Take the dough out of the refrigerator the next day, about 2-3 hours before you want to bake. Now is a good time to pull a little of the dough from the top to put back in your starter, if you like to do put developed dough back in there. Be sure to close it up nicely. Let it stand to rise at room temperature for about 1-3 hours. I should be puffed up nicely at this point, which mine really wasn’t.
Just out of the refrigerator
9. Preheat your oven to 475 F/ C and put a Dutch oven in there.
10. Dust a cutting board with cornmeal and carefully turn out the loaf on the board. I found this to be quite hard, but in theory you should do it without ripping the bread. Score the top of the bread.

Ready
11. When the oven is ready, take the Dutch oven out, and take off the lid. Careful, remember this is all really hot! Gently life the bread up and put into the Dutch oven and put the lid back on.

Bread in the Dutch oven
12. Bake with the lid on for 25 min, then take the lid off and bake for another 10 min.
13. Take the Dutch oven out, and carefully take the bread out ( I used grilling thongs). Remember, HOT!

Done!
14. Put the bread on a rack to cool
The bread tasted good, but clearly didn’t rise enough, even if it did rise some.
I think that after resting the dough in the refrigerator it took a very long time for my dough to even get warmer, I keep my house pretty cool at the moment, so I should probably have left it out longer. I also didn’t like the method of resting the dough in a cloth, next time I will just rest in in the bowl, and probably take it out of it to reform the loaf and let it rise longer on day 2. I think a bunch of cold moisture was retained in the towel for me.
I really liked the high water percentage in this bread, as well as the Dutch oven method of baking, I will be doing that again for sure.

I’m slightly obsessed with trying to get the perfect sourdough bread. Trying to get it to go upwards rather than sideways is definitely a challenge! I’ve never tried using a Dutch oven so I may give that a go.
Yeah, take a look at the beautiful bread in the original blog post I found this recipe in.
I think the Dutch oven is a great way of doing it, despite not rising as much as I would like, the crust was delicious!
Pingback: Sourdough bread – take 2 | more than dough