

In almost any Danish bakery you can get these cakes or sweets, called træstammer or ‘tree trunks’. You can also get them packaged in supermarkets, usually made to last forever. Of course, the quality varies wildly, also from one baker to the next.
You would hardly never make them yourself, they are made from leftover cake or pastries. I love them and miss them, so I decided to see if I could make them myself. They are basically mashed up cake crumbs with rum flavor, covered with marzipan and decorated with chocolate.
I found a lot of different recipes, many using cake and buttercream, or cake and heavy cream, but the one I finally settled on got my attention since it used marzipan in the filling. It is courtesy of the biggest marzipan producer in Denmark, so it is no wonder you use a lot of it.
Ingredients (original recipe in Danish, courtesy of Odense Marcipan):
- 400 g cake (14 oz)
- 125 g marzipan/almond paste (4.5 oz)
- 75 – 125g dark chocolate, melted (use less chocolate if using chocolate cake) (2.5 – 4.5 oz)
- 2 tbsp raspberry jam
- 2 tsp rum essesnce or 1-3 tbsp rum
- For decoration:
- 150-200g marzipan/almond paste (5 – 7 oz)
- green food coloring
- melted dark chocolate
Notes:
A couple of notes on the ingredients here.
Cake: Any kind of cake would do, muffins, sponge cakes, pound cakes and probably even brownies. Icing on the cake is fine too. Chocolate cake gives a deeper chocolate flavor, but it doesn’t have to be.
Rum/Rum essence: These treats are not boozy, and them rum is just to offset the sweetness of it all. It is not much, and I have no qualms letting my 2 year old have one, each one would have very little rum in it.
Marzipan: In Denmark, marzipan is often used in cakes and for decoration. You can get 2 different kinds easily, one with 60% almonds, which in the US would be called almond paste, and one with less almonds but containing ground apricot pits. This variant usually bakes better, and is cheaper. In addition, you can get ‘decoration ready’ marzipan, which has much higher sugar content, and only 20-30% almonds, this kind you also make yourself from the paste by mixing in sugar or glucose. This is what is often called marzipan here in the US, and is much easier to work with for decorative work, however I find it way to sweet. For these cakes, use almond paste, the ones with the highest almond content you can find (the one I found had 45%).
Method:
1. Crumble the cake and marzipan in a bowl, and add the melted chocolate and jam. Work it well together until a smooth mixture

2. Add rum or rum essence to taste and work it in. Let the mixture cool a little bit in the refrigerator.

3. Roll into long logs, about 1-1.5 inches (2.5-4 cm)in diameter. Put these back into the fridge to set.

4. Mix you decorating marzipan with the green food coloring. I used about 10-14 drops of green for my marzipan. You can add a bit of yellow instead of going all green for a more traditional spring green color.
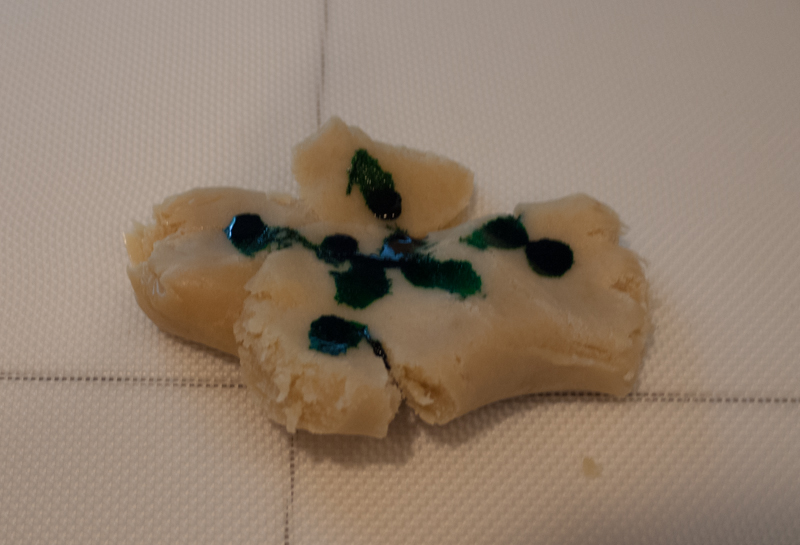

5. For your marzipan into a small rectangle and roll out. If you find it sticking to your rolling pin, dust with some icing sugar. The marzipan should be fairly thin, 1-2 mm.


6. Take one log out of the refrigerator and roll up with the green marzipan. I found it easiest if you cut the marzipan to the exact length before rolling, them rolling up to a very slight overlap and cutting again. Put the log back in the fridge.


7. Repeat with the rest of the marzipan and the rest of the logs. You will probably have some left over green marzipan.

8. Cut the logs into 2-3 inches (5-8 cm) long pieces.

9. Brush each end with some melted chocolate, and make it cover part of the sides. You can also dip them, but I found it was easier to brush.

10. Let set on a plastic wrap covered cookie sheet, or similar.

In the end, these turned out pretty well. Because of all the sugar, you don’t have to store them in refrigerator, but you might want to if you plan on keeping them around for some time or live in a hot climate. They do taste better at room temperature, and they also taste better after a few days, when the flavors have had time to settle.
It was a lot of fun to see if I could make these treats, but a little more work with the decorating than I expected. I don’t think they tasted quite like the ones I would get at my local bakery, but it was close and they were very good regardless.
