Shortbreads

shortbreads-11Shortbreads are one of those cookies that don’t seem like much, but are just delicious. My husband loves them (and my in-laws always have a box stashed somewhere), so I occasionally buy them. The other day I was thinking that I really ought to bake some.

I think I a long time ago made some pecan ones, and there are plenty of recipes around with a lot of recipes around for all sort of different flavors. I wanted to make a basic one, where the main flavor comes from the butter and vanilla.

I have this little book called Miss Jensens Five O’Clock Tea. I got it quite a while ago, but I never made any recipes from it. It is a republish of 1902 recipe collection. Miss Jensen was a famous Danish cook (and head of household) and authored a number of cookbooks for ‘the modern house-wife’. According to the foreword this was a collection of cheap and easy cakes, breads and cookies, useful in the many households where the family gathers for tea before or after dinner. The recipes from this book were primarily ones she gathered when she visited England.

This book obviously contains a recipe for shortbreads – and I don’t know about cheap given it called for a real vanilla pod and (of course) a lot of butter – but I guess that in 1902 there weren’t any cheaper fats available.

Most recipes include butter, flour sugar and vanilla, but this one included an egg too, which I found interesting. I was a bit worried to try out a recipe from 1902 – I doubt the butter has the same amount of water content and salt today as it did then, on top of the differences between European and US style butter. I worked out great though!

Since the butter is one of the main flavoring components of this cookie, using higher quality butter would probably make them taste even better, but I just used Safeway brand Organic butter.

Ingredients: (Original recipe from Frk. Jensen’s Five O’clock Tea)

  • 500 g all-purpose flour (17.6 oz)
  • 250 g butter (8.8 oz )
  • 1 tsp baking powder
  • Seeds from 1 vanilla pod
  • 150 g sugar (5.2 oz)
  • 1 egg

Method:

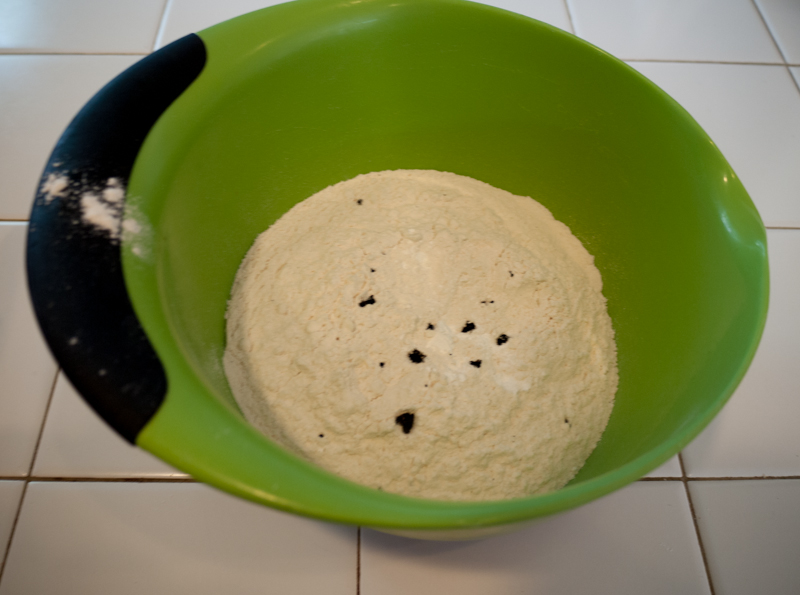
1. Split the vanilla pod and scrape out the seeds.

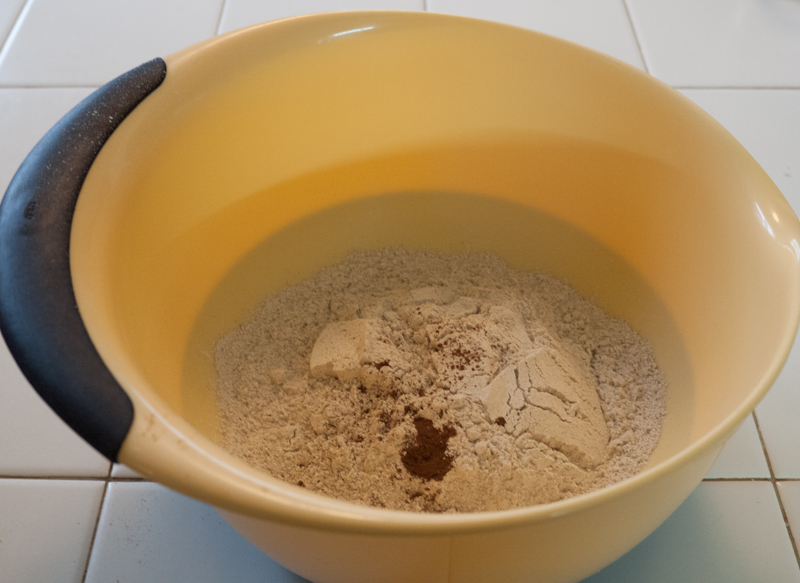
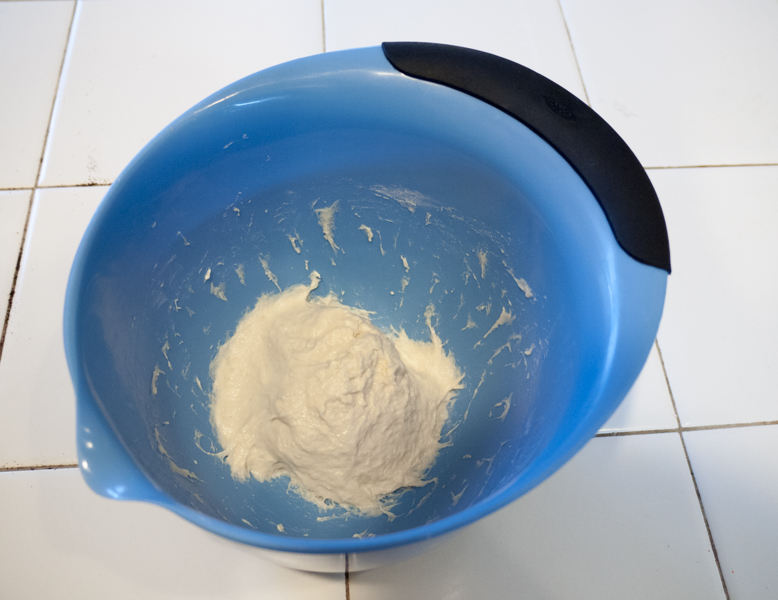
2. Mix the flour, baking powder and vanilla seeds in a bowl.

shortbreads-1

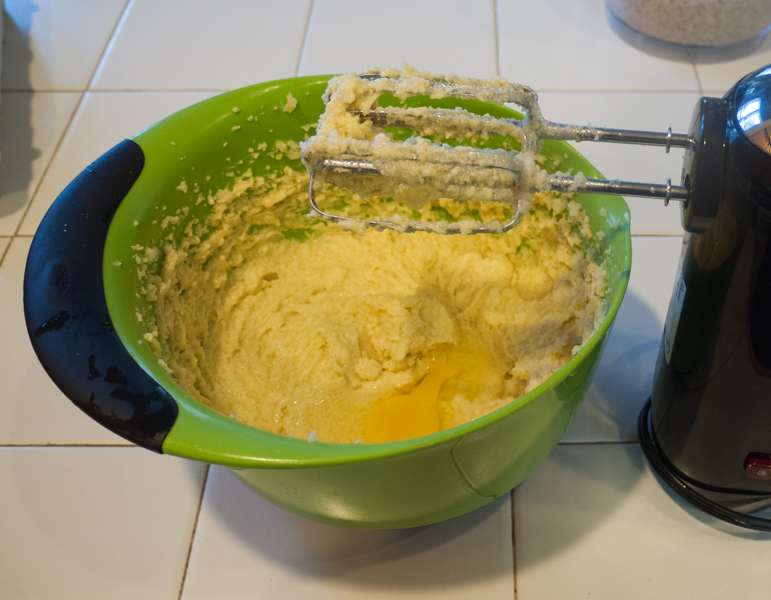
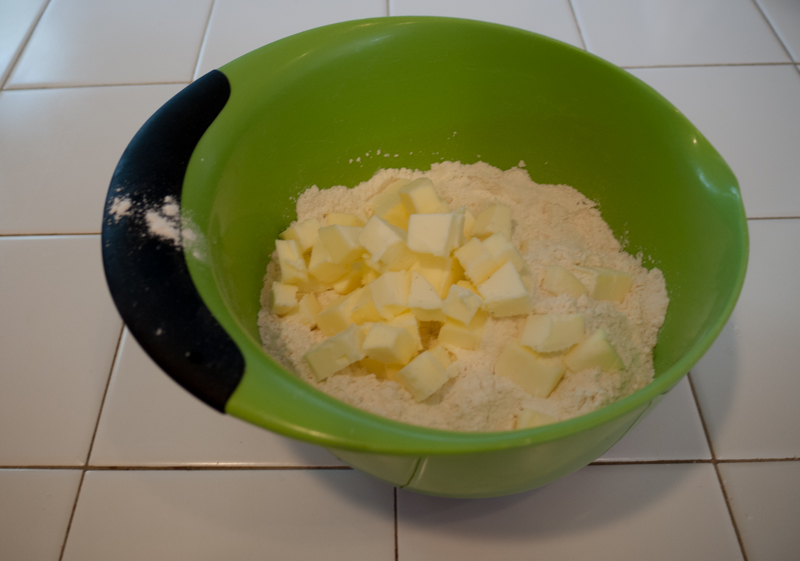
3. Add the butter and squeeze the butter into the flour mixture with your hands.

shortbreads-2

shortbreads-3

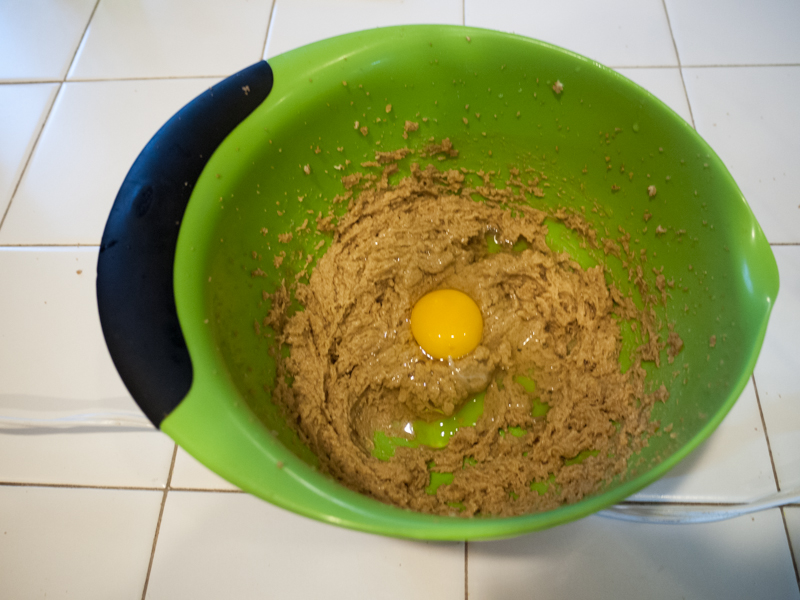
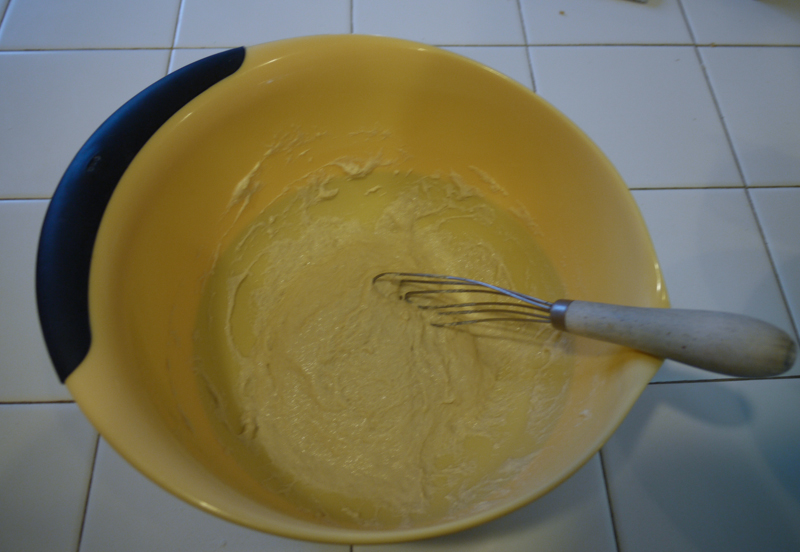
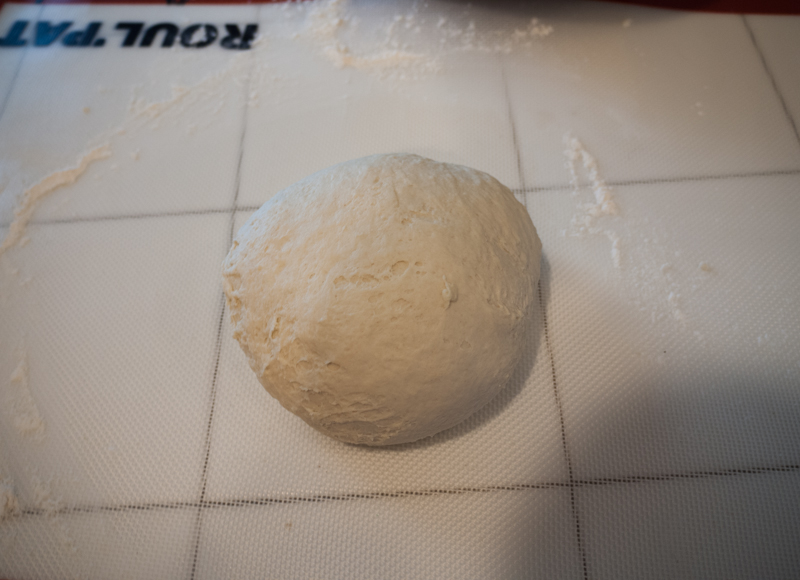
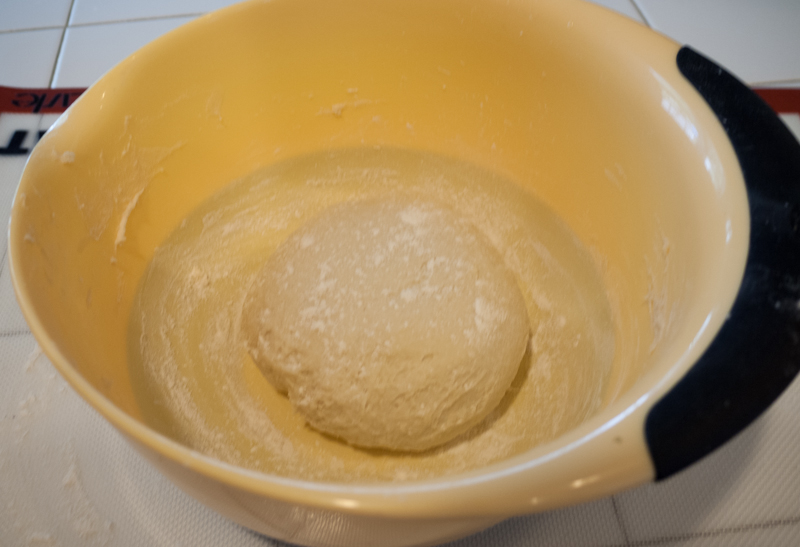
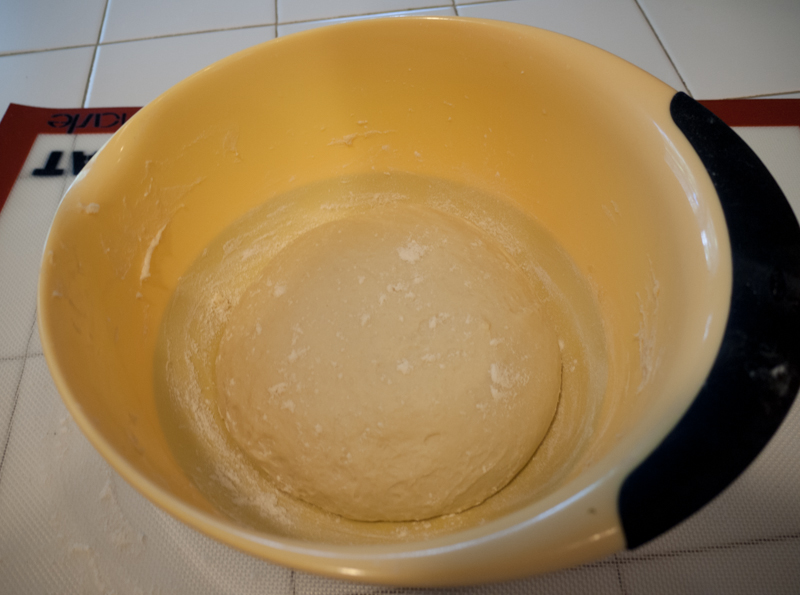
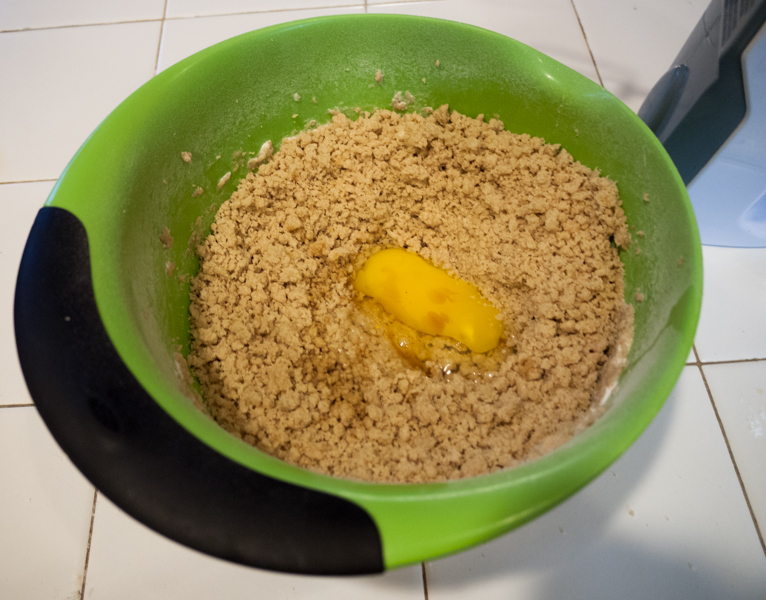
4. Add the sugar and the egg and mix until a dough forms. Be patient here, it is very crumbly. However, if it needs a little more moisture, I found it useful to wet my hands and keep going – you don’t want to add too much water.

shortbreads-5

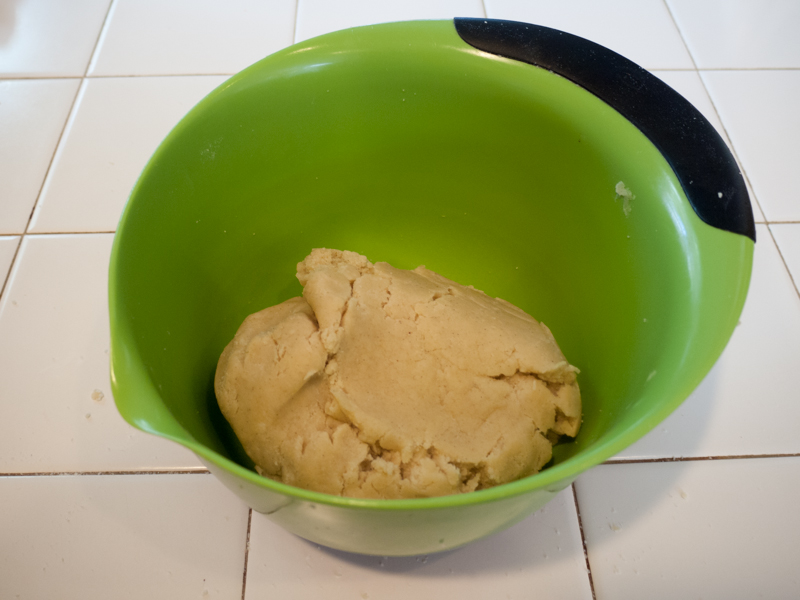
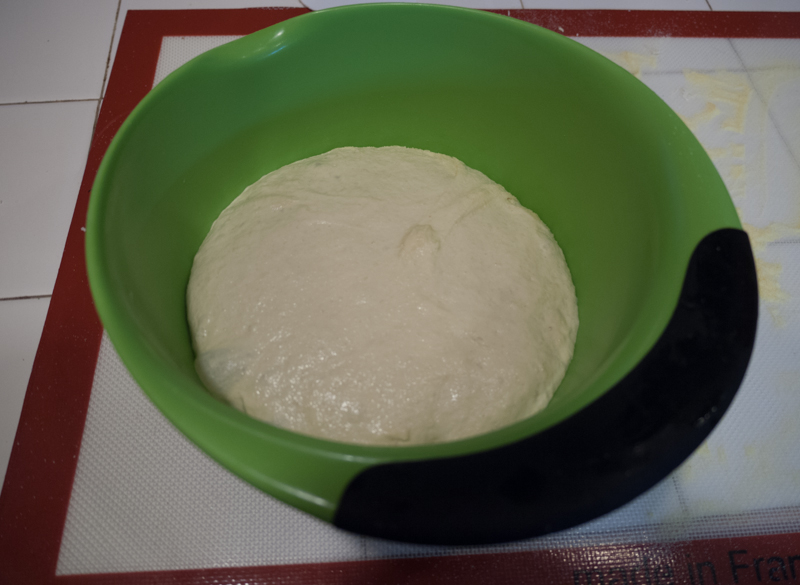
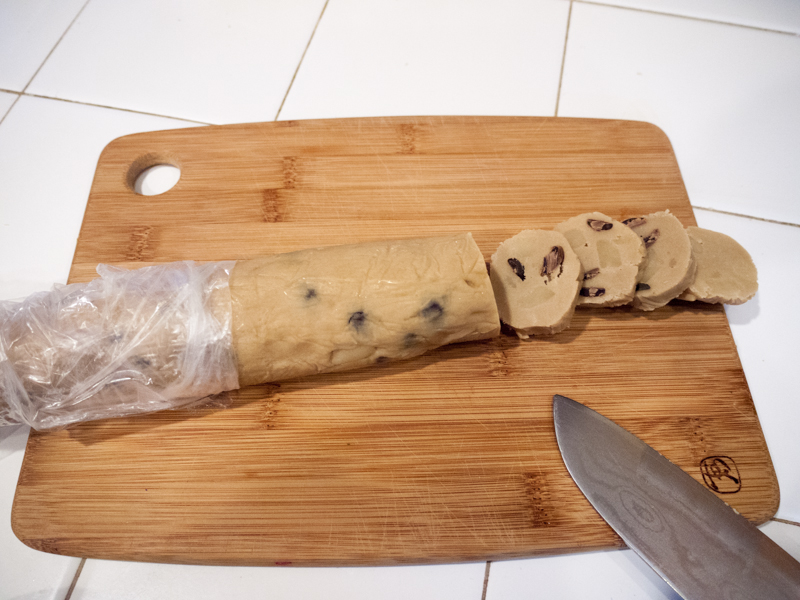
5. Split the dough in 2 and form it into squares. Let them cool in you refrigerator for 30-60 min.

shortbreads-6

6. Preheat your oven to 175-190 C/ 350-370 F, and line some cookie sheets with parchment paper.

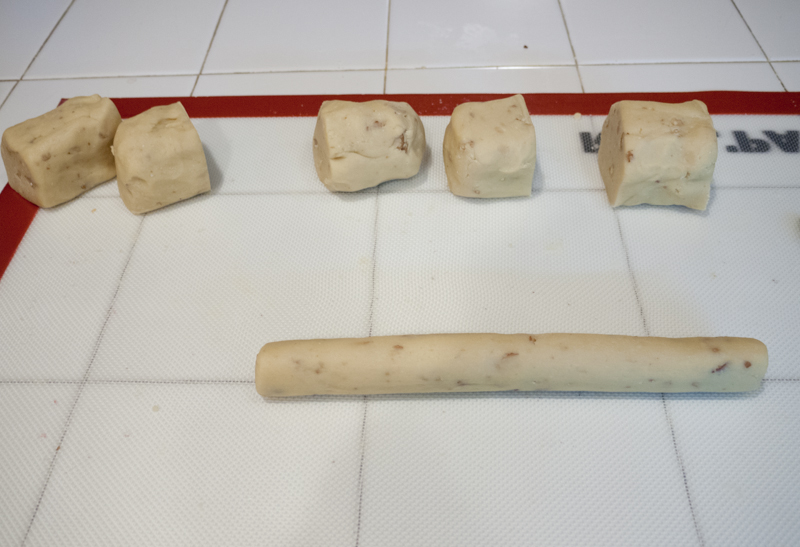
7. Take one square out of the refrigerator and roll out to about 1/2 cm thick . Try to make it as square as possible (to minimize waste).

shortbreads-7

8. Prick the surface with a fork, and cut out rectangles in the size you desire. I found it useful to use a ruler for this.

shortbreads-8

9. Place shortbreads on the prepared sheets. You can place them very close together, as they don’t spread.

shortbreads-9

10. Bake for 12-17 min, until golden brown. You have to keep an eye on them, the time will vary with oven.

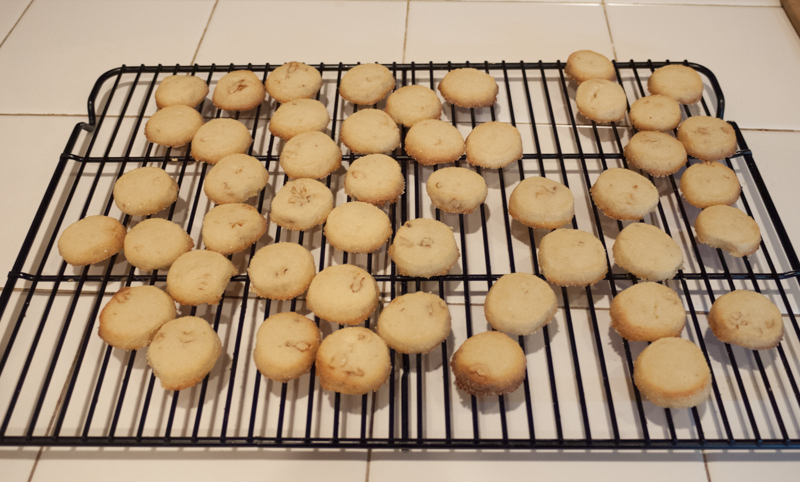
11. Let cool on a wire rack. Repeat if you could not fit them all in the oven at once.

shortbreads-10

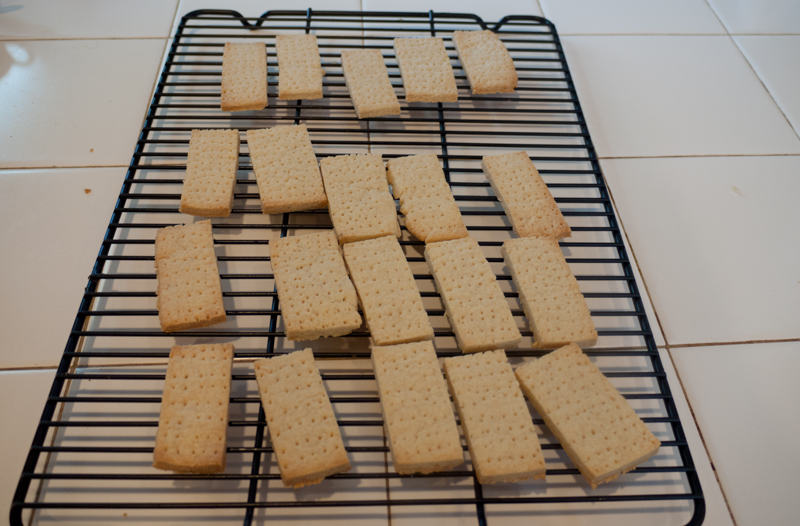
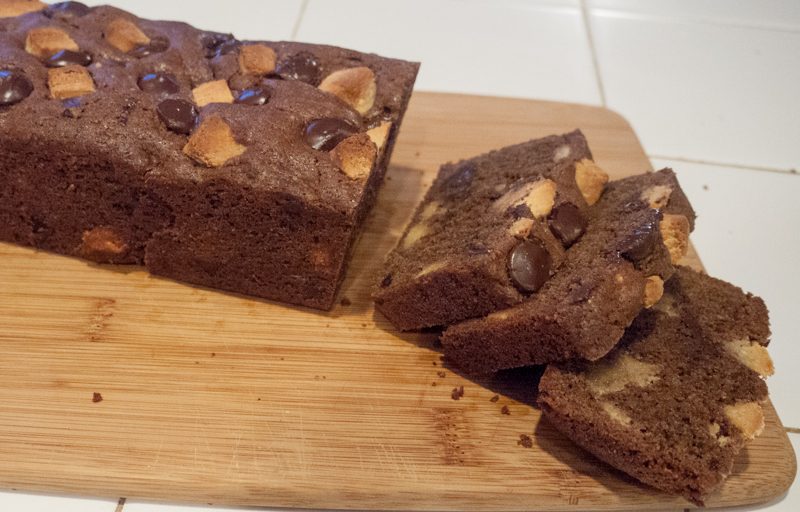
I thought the recipe was very successful, and very delicious. Such a simple cookie, and always perfect with tea, coffee or hot chocolate.


‘Thömchen’ cake

Thomchen-11

This is one of my favorite cakes ever. My mom has an old friend from some time she spend in Germany, and her nick name is Thomchen. This delicious hazelnut-chocolate loaf recipe come from her, so I have always known it as Thomchen-cake.

The cake is typically German in its use of hazelnut meal, which makes it wonderful rich and not overly sweet. You can use toasted or raw hazelnuts with equal success, the taste will be a little different, but I can’t say which is better.

Ingredients:

  • 100 g hazelnut meal (or hazelnuts) (3.5 oz)
  • 125 g butter (4.4 oz)
  • 200 g sugar (7 oz)
  • 3 eggs
  • 125 ml milk (0.5 cup)
  • 150 g flour (5.3 oz)
  • 2 tsp baking powder
  • 100g chopped hazelnuts (3.5 oz)
  • 100g chopped dark chocolate (3.5 oz)

Method:

1. Grind the hazelnuts to meal, if needed. You can use a regular food processor for this.

Thomchen-1

Thomchen-2

2. Chop the chocolate and the remaining hazelnuts coarsely.

Thomchen-3

3. Grease 2 loaf tins and line with parchment paper. Preheat oven to 175 C/ 350 F.

4. Mix the butter and sugar together with an electric mixer, until light and fluffy.

Thomchen-4

5. Add the eggs one at a time.

Thomchen-5

6. Mix in the milk.

Thomchen-6

7. Add the flour, hazelnut meal and baking powder and mix well.

Thomchen-7

8. Add the chopped nuts and chocolate.

Thomchen-8

9. Scrape the dough into the prepared tins and spread it out.

Thomchen-9

10. Bake for about 60-70 minutes or until a toothpick inserted comes out clean. You may have to cover the loafs with foil by the end if they get too dark.

11. Let cool for 5-10 min in the tin on a rack, then take out of the tins and place on a rack to cool completely.

Thomchen-10

Rich, delicious without being super sweet – it is easy to eat more than one piece! I think this is a little different than many load style breads and cakes you get in the US.

Swedish Peasant Bread

bondebroed-15

My mom sometimes mails me random stuff she thinks I might find interesting, and a while ago she mailed me a Swedish flyer with some baking recipes. The flyer was publish by KF Provköket which seems to now be coop Provkök, a test kitchen for the retail cooperative coop. The flyer looks like it is published in 1985, and I could not find the recipes online.

Swedish is close to Danish, so I could easily figure out the recipes. The one that caught my eye was one for a whole grain ‘peasant bread’. It is using a scalding technique and is made with rye flour and some ground bitter orange (pomerans) rind. I find that quite a bit of Swedish bread is made with some sort of spices, and it is usually a nice touch. I did not, however, have any bitter orange rind or knew where to get it, so I decided to add some ground all-spice for some general complex spiciness, and that worked well.

Though not required by the recipe, I used the opportunity to use my bannetons again, and the breads turned out beautiful.

Ingredients:

  • 500 ml boiling water (2.1 cups)
  • 500 ml whole grain rye flour (2.1 cups)
  • 1 tsp ground all-spice
  • 50 g butter (1.8 oz)
  • 250 ml water (1 cup)
  • 16.6 g active dry yeast (0.6 oz) (50 g fresh yeast cake)
  • 2 tsp salt
  • 1100 ml bread flour (4.6 cups)

Method:

1. Mix this rye flour and all spice together in a bowl.

bondebroed-1

2. Pour boiling water over the mixture, cover with film and let stand for 2-4 hours (until a little warmer than room temperature).

bondebroed-2

3. Melt the butter and add the water. Let cool to 90 F/ 37 C.

4. Mix the yeast in the water/butter mixture.

bondebroed-3

5. Add the yeast, butter and water to the scalded flour and mix.

bondebroed-4

6. Mix the salt and gradually add almost all of the bread flour, and mix until a dough forms.

bondebroed-6

bondebroed-5

7. Knead lightly in the bowl for a few minutes.

bondebroed-7

8. Cover with film and let rise for 45-60 min.

bondebroed-8

9. Turn the dough out on a work surface and knead lightly. Add more flour if necessary.

10. Divide dough in 2 and form 2 round breads.

bondebroed-9

11. If using, dust 2 8-inch bannetons with rice flour and place the breads in them. Otherwise place breads on a parchment lined sheet.

bondebroed-10

12. Cover breads and let rest for 20-30 min.

bondebroed-11

13. Preheat oven to 200 C / 392 F.

14. Turn the breads out on a parchment lined sheet and transfer to oven.

bondebroed-12

15. Bake for 40-45 min, they are done when lightly brown and hollow sounding.

bondebroed-13

Since there is not much kneading involved, these are actually quite fast and easy to make. The scalding make it quite moist, and the spice and rye combination adds a lot of flavor. This bread is great still warm with butter, or as sandwich bread. I found it kept very well.

Chocolate Marzipan Loaf

marzipan loaf-10

Many years ago, my husband gave me The Ultimate Encyclopedia of Chocolate, and this loaf cake is one of the great recipes in the book. It is not too sweet and the marzipan gives it at wonderful flavor.

Ingredients: (original recipe in The Ultimate Encyclopedia of Chocolate)

  • 115 g unsalted butter, softened (1 stick)
  • 150 g light brown sugar (5.3 oz)
  • 2 eggs
  • 3 tbsp unsweetened cocoa powder
  • 150 g all-purpose flour (5.3 oz)
  • 2 tsp baking powder
  • 1/2 tsp salt
  • 130 g marzipan / almond paste (4.6 oz)
  • 100 ml chocolate chips ( 1/2 cup)

Method:

1. Grease a loaf tin and line bottom with parchment paper.

2. Preheat oven to 350 F/ 180 C.

3. Cut marzipan into small (1/2 inch / 1.5 cm ) cubes. 

marzipan loaf-1

4. Beat butter and sugar with a mixer until creamy.

marzipan loaf-2

5.Add the eggs one at a time, mixing well after each.

marzipan loaf-3

6. Add the flour, salt, baking powder and cocoa and mix.

marzipan loaf-4

7. Fold in most of the chocolate chips and marzipan pieces, reserve about 2 tbsp of each.

marzipan loaf-5

8. Scrape the batter into the loaf tin and smooth out.

marzipan loaf-6

9. Sprinkle the reserved chocolate chips and marzipan pieces on top.

marzipan loaf-7

10. Bake for about 45-50 minutes. The cake should be firm and the marzipan on top browned.

marzipan loaf-8

11. Let cool in the tin for about 5 min, and them gently remove and continue cooling on a wire rack.

marzipan loaf-9

Easy and yummy and a bit different. I recommend using a serrated knife or bread knife to cut it, as it is a bit crumbly.

Pugliese – Italian Bread

pugliese-14

For my birthday in October I got Rose Levy Beranbaum’s The Bread Bible, and I have made a couple of breads from the book (which I highly recommend), but I don’t think I have blogged about them.

The Pugliese are the breads on the cover, they look gorgeous, so of course I had to try them. It is a very high water content bread, which makes it a bit tricky. Beranbaum’s method uses a stand mixer, but I have made it both with my hands and with dough hooks and a hand mixer.

In general, many of the recipes have very specific instructions that I think you can mess around with a bit if you try. She recommends specific flour brands, for instance, but I made this with generic Safeway Organic all-purpose flour and it worked fine.
I also couldn’t get the durum flour the recipe called for and had to get semolina, which is a coarser grind of durum wheat, and the recipe claims it will not work with that, but it did. If you can get durum flour, by all means use it! (I could not even find some on amazon.com, funny, since in Denmark it was right there in the local supermarket).

This, like many of the breads in the books, is a long process. The raising times are very long, which helps create flavor, but means you will have to use a half day or more – plus make the starter the day before. Also note that this uses a banneton to help with the final raise, I definitely recommend one for wet breads like this. And it makes it look pretty!

Original recipe from The Bread Bible by Rose Levy Beranbaum. I have multiplied the amount by 1.5, as thought the original bread was very small. Note that most of the pictures is for the smaller size, from first time I made it.

Ingredients, day 1:

  • 113 g all-purpose flour (4 oz)
  • 0.37 g active dry yeast
  • 90 ml water ( 6 tbsp )

Method, day 1:

1. Dissolve the yeast in the water.

2. Add the flour and mix until smooth.

pugliese-1

3. Cover tightly and let proof overnight (12-24 hours). The first 3-6 hours should be a room temperature, then cooler. I found our garage, a little warmer than our refrigerator to be great. The volume of the starter should triple.

pugliese-2

Ingredients, day 2:

  • 107 g all-purpose flour (3.75 oz)
  • 107 g durum flour (3.75 oz)
  • 3 g active dry yeast
  • 177 ml water (3/4 cup)
  • rice flour for dusting

Method, day 2:

1. Try to leave the starter at room temperature for it to become room temperature, though if it is cool it is OK too.

2. Mix the water and yeast in a small bowl.

3. Add the water and yeast mixture to the starter.

4. Add the flours and the salt to you bowl.

pugliese-3

5. Mix, either with your hands/a whisk, dough hooks on a stand mixer or heavy duty hand mixer (be careful using a hand mixer. If it is not powerful enough you may end up burning out the motor).

pugliese-4

6. Keep mixing/kneading for 5 minutes or so, the dough should pull away from the bowl but still be very sticky.

pugliese-5

7. Dust your work surface with durum/semolina flour and have more flour ready. Place your dough on the flour and stretch it with both hands (flour your hands too).

8. Fold the dough over one third, and then the rest of it on top.

pugliese-6

9. Turn the dough 90 degrees and repeat the fold.

10. Sprinkle more durum flour over and cover with oiled film. Let rest for 30 min.

11. Repeat the stretching, folding, turning and folding again. Durst with more flour, cover and rest another 30 min.

pugliese-7

12. Stretch, fold, turn and fold again. Place your dough an oiled bowl and cover tightly with film.

pugliese-8

13. Place the dough somewhere nice and warm to let it rise for 2 hours. I used a trick from Cook’s Illustrated: Place pan of boiling water in the bottom of your cold oven, and place your dough on a rack above. Close the oven (don’t turn it on). This create a moist, warm environment, and your oven is relatively sealed.

pugliese-9

14. Dust an 8 inch / 20 cm banneton with rice flour. (If you do not have one, simply place the bread on a parchment lined sheet. I sometimes see people suggesting a stand-in for the banneton by flouring a tea towel and line a colander – I have not had that work). I have tried with wheat flour too, rice flour gave a much better result.

15. Very gently, shape the risen dough into a round ball, and place seam side up in your banneton (or seam side down on a sheet). Cover with oiled film. Let rise for 1-1.5 hours.

pugliese-10

pugliese-11

16. Preheat the oven to 500 F / 260 C, and place an empty sheet or pan on the lowest rack of the oven. Place a pizza stone, if you have one, on a rack just above. If you use a stone, let the oven stand at temperature for a while, so the stone is heated through.

17. Invert the bread out on a parchment lined sheet.

pugliese-12

18. Place the sheet on top of your pizza stone (or directly on the rack). Place about 1/2 cups / 1 dl of ice cubes in the pan below.

19. After 5 min, lower the temperature to 450 F / 230 C.

20. Bake the bread for 15-25 minutes more and take it out to cool on a wire rack.

pugliese-13

The bread is really delicious and moist, and I think it keeps OK too. It is great with soup but also as sandwich bread for lunch or even breakfast.

Walnut Cookies

walnut-10

These cookies are actually Christmas cookies, but they are good at any time. The recipe is from an old Christmas cookie flyer from a brand of flour in Denmark (Amo), probably from the late 70’s. They are crisp and buttery and very ‘more-ish’.

Ingredients:

  • 400 g flour (14.1 oz)
  • 300 g butter (cold) (10.5 oz)
  • 2 tsp baking powder
  • 1 egg
  • 50-75 g coarsely chopped walnuts (1.8-2.6 oz)
  • Raw sugar for decoration

Method:

1. Mix all the ingredients, except walnuts, to a rough dough. Use your fingers to squeeze the butter into the other ingredients.

walnut-1

2. Add the walnuts and mix well.

walnut-2

walnut-3

3. Divide the dough into 6 parts, and roll out to rolls, approximately 20 cm / 8 inches in length. The rolls should be about 2.5 cm / 1 inch in diameter.

walnut-4

4. Roll each roll in raw sugar – if you don’t have that caster sugar will work too.

walnut-5

5. Wrap the rolls in plastic wrap and cool in the refrigerator for about an hour or more. You can also freeze them and make them later.

walnut-6

6. Preheat the oven to 220 C / 428 F.

7. Once the rolls are set, take one out at a time and slice into fairly thin cookies, about 0.5 cm / 0.2 inches thick each. There should be about 25 cookies per roll. Keep turning the roll as you cut, so they stay round.

walnut-7

8. Place the cookies on parchment sheets. They don’t expand much, so you can put them fairly close to each other.

walnut-8

9. Bake for about 8 min until golden brown at the edges.

10. Cool the cookies on a rack and repeat with the remaining sheets.

walnut-9

Simply and very yummy. The original recipe calls for butter or margarine, but the butter taste is really prominent, I don’t think they would taste as well without it.

Pita Breads

pita-9

I love having bread with my food, and pite breads are of course perfect when you have middle eastern food. I have a small Lebanese inspired cookbook, and made some mint and turmeric chicken, tabuleh salad and had some hummus to go with it. I decided to try and make some pita breads, and followed the recipe from the same book. The book is called ‘Det Libanesiske Køkken’  by Anne Wilson (The Lebanese Kitchen – original title: Lebanese Cooking ) and is part of a small series of books with international inspired recipes. I had a bunch of them for years and enjoyed them very much.

Ingredients:

  • 7 g dry yeast (1/4 oz)
  • 375 ml lukewarm water (1.6 cups)
  • 1 tsp sugar
  • 875 ml all purpose flour (3.7 cups)
  • 2 tbsp olive oil

Method:

1. Dissolve the yeast in water and add sugar.

pita-1

2. Add flour and oil and mix in until a dough forms.

pita-2

3. Knead the dough until smooth and supple.

pita-3

4. Grease a bowl with oil, place to dough in it and cover with film. Let the dough rest for 20 min, until doubled.

pita-4

pita-5

5. Punch the dough down and split into 12 parts.

6. Form a small ball of each part and roll them out. The breads should be about 5 mm thick.

pita-6

7. Place the pita breads on a parchment clad paper, and brush with water. Let them rise for 20 min.

pita-7

8. Preheat the oven to 250 C.

9. Bake the breads for 4-5 min, they should be light golden and soft.

pita-8

Easy and yummy!

Chocolate Mousse

mousse-13

Chocolate mousse is my favorite dessert. It is rich, decadent and perfect in every way. There are so many different recipes out there, and the main difference is usually whether you use both whipped cream and egg whites to create the fluffy texture, or just whipped cream, as well as the ratio of egg yolks and sugar to chocolate.

This recipe is my favorite, and it has a funny backstory. When we were students, one of my husbands classmates lived in an old dorm in Copenhagen, Kvinderegensen. It was build in 1931, and though today half of the residents are male, originally it was a girls only dorm.

The important part for this story, is though that they used to have great parties, including a spectacular New Years party, with a 4 course dinner and everyone dressing in fancy evening wear. We celebrated New Years there a couple of times, and one of the years the dessert was this amazing Chocolate Mousse with raspberry sauce and almond tuilles. I have a printout of email from 1998 from a guy I don’t know, to a guy I don’t know – but thank you Christoffer for writing down the recipe.

I usually don’t bother making the tuilles, but the raspberry sauce is super easy and really lifts the chocolate dish. (If I do make they tulles one day, I will be sure to post about it, but for now I don’t know if the recipe is even workable or not).

Ingredients, raspberry sauce:

  • 200 g raspberries (fresh or frozen) (7 oz)
  • 80 g sugar (2.8 oz)
  • 1/2 vanilla bean

Method:

1. Add the raspberries to a small pot.

2. Spit the vanilla bean and scrape out the seeds.

mousse-1

3. Add the vanilla seeds, bean (and empty bean from the chocolate mousse below) and sugar to the pot.

mousse-2

4. Put the pot on low on your stove, and let it simmer for 20-25 min.

5. Try not to stir with a spoon, but swirl the pot gently, this way the berries retain their shape.

mousse-4

6. Let stand for 30 min, then remove the vanilla beans.

mousse-12

7. Serve cold or luke-warm.

Ingredients, mousse:

  • 200 g dark chocolate, minimum 60% chocolate (8 oz)
  • 8 egg yolks*
  • 70 g sugar (2.4 oz)
  • 1/2 vanilla bean
  • 500 ml heavy whipping cream (1 pint)

*Note: If you can, use yolks from pasteurized eggs. The yolks do not get heated, and the more yolks, the higher the risk of illnesses. If you are using regular eggs, make sure to keep the mousse refrigerated at all times.

Method:

1. Chop the chocolate finely, and melt it, either in a double boiler or the microwave.

2. Spilt the vanilla bean and scrape out the seeds. Save the empty bean for the raspberries.

3. Whisk the egg yolks with sugar and vanilla seeds.

mousse-5

4. Add 1/3 of the chocolate to the yolk mixture, and whisk until shiny, homogenous and a little heavy feeling.

mousse-6

5. Mix in the remaining chocolate.

mousse-7

6. In a separate bowl, whisk the cream until creamy. You don’t want it to be stiff and fluffy as whipped cream you would put on a pie, just until you can form soft peaks.

mousse-3

7. Mix 1/3 of the lightly whipped cream into the chocolate by carefully turning the mixture. You don’t want to whisk vigorously.

mousse-8

8. When the first part of the cream is mixed in, add the rest and gently fold it in. You want to be careful to not beat the air out of the cream.

mousse-9

mousse-10

9. Pour into individual serving glasses or a serving dish and refrigerate.

mousse-11

When serving, you can use a big spoon to create ‘eggs’ from the mousse if it was refrigerated in a large shallow dish. Simply draw the spoon along the surface to roll up the mousse and create a pretty presentation. I usually just let people serve themselves in chunks, but the other way does look better.

It is decently better once it has set, but you can actually make this and eat it almost right away. If you are having a chocolate mousse craving after dinner, as one might.

You can also add some rum or other spirit to the mousse (add it to the egg yolk/chocolate mixture before the whipped cream) if you want to have some contrast to the sweetness – it should not be boozy, just about a tablespoon or two.

Crisp Marzipan Chocolate Cookies

cookies-9

When I was growing up, my mom baked lots of different Christmas cookies, usually 10-16 different kinds. I try to bake some different cookies in December, but I usually don’t end up with that many.

This cookie is very tasty due to the marzipan and the use of dark brown sugar. The recipe was from the weekly advertisement from a Danish supermarket where I clipped it years ago. It is not meant to be a Christmas cookie, but I think it has a very Christmassy feel to it.

The portion is not that big (34-40 cookies or so), feel free to double it.

Ingredients: (original recipe clipped from Super Brugsen advertisement)

  • 250 g butter, softened
  • 100 g dark brown sugar
  • 300 g all purpose flour
  • 1 tsp baking powder
  • 1/4 tsp salt
  • 1 tsp vanilla sugar or vanilla extract
  • 1 egg
  • 100 g marzipan/almond paste
  • 100 g dark chocolate chips

Method:

1. Cut the marzipan into small pieces (1 cm / 1/3 inch)

2. Mix butter and brown sugar with an electric mixer.

cookies-1

3. Add the flour, baking powder, salt, and vanilla sugar or extract.

cookies-2

4. Mix in the egg to a dough forms.

cookies-3

5. Use your hands to mix in the chocolate and marzipan pieces.

cookies-4

6. Roll out the dough to 2 rolls, each about 20 cm / 8 inches long.

cookies-5

7. Wrap in plastic wrap and refrigerate for about an hour.

8. Prepare 2-3 cookie sheets with parchment paper (or you can switch after each bake). Preheat oven to 200 C/ 392 F

9. Cut each roll into cookies, about 1 cm  / 1/3 inch thick and place on the sheets.

cookies-6

cookies-7

10. Bake for about 15 min, until golden brown at the edges. The marzipan will brown too.

11. Let the cakes cool on a wire rack.

cookies-8

As the title says, these are supposed to be crisp, not chewy at all. I think they are really tasty, and they get eaten really fast in our house.

Challah

challah-21

One of my favorite breads are challah, and I usually bake it for holiday meals, such as Thanksgiving. Challah is a traditional enriched Jewish bread flavored with honey. Sweet and rich, it is great for special meals, breakfast or anytime.

It is often made without dairy to satisfy Jewish dietary restrictions so it can accompany meals with meat, but this recipe has butter in it for a soft moist crumb. Since I am not Jewish, I happily ate this with my turkey. The recipe is from On Baking, and the crumb turns out perfect every time I have made it.

I wanted to braid it with 6 strands instead of 3, so I found this great video instructions – check it out, it really explains it well. Thanks for posting that!

Ingredients: (original recipe from On Baking)

  • 92 ml honey ( 3 fl. oz)
  • 18 g salt (0.6 oz)
  • 840 g bread flour (1 lb, 12 oz)
  • 15 g active dry yeast (0.5 oz)
  • 60 ml hot water (90 F/ 32 C) (2 fl. oz)
  • 150 ml water, room temp (5 fl. oz)
  • 4 eggs
  • 120 g butter, melted (4 oz)
  • Egg & milk/cream for egg wash

Method:

1. Mix the honey, salt and 240 g (8 oz) of flour in a mixing bowl.

challah-1

challah-2

2. Dissolve the yeast in the hot water in a small bowl.

challah-3

3. Add the yeast mixture, the rest of the water the eggs and the butter to the bowl and stir until smooth.

challah-4

4. Mix in the rest of the flour, adding a little (about 60 g/ 2 oz) at a time. Mix well after each addition. At some point, switch to kneading.

challah-5

challah-6

5. Knead the dough until elastic, about 5-10 minutes

challah-7

6. Put the dough in a bowl, cover and let rise until doubled, about 1 – 1.5 hours.

challah-8

7. Punch down the dough and divide into 2 parts

8. Divide each part into 6 strands (or as many as you want to braid). When making 6, I found it useful to weigh them to get them to be equal size.

9. Roll out 6 strands to rolls. They will contract a bit, so let them sit for 5- 10 min and rest.

challah-9

10. Meanwhile, cover the remaining 6 pieces of dough so it doesn’t dry out.

challah-10

11. Roll out the strands again, make them long and thin.

challah-11

12. Start braiding the bread. Push the dough strands together at the top and spread them in 3 and 3.

challah-12

13. Cross over the topmost strands all the way across.

challah-13

14. Take one of the top strands, and cross it over two strands. Then replace it with the strands second closest to the top on the other side. The first crossover might look a bit odd, that is ok. Gently tuck it under a bit when you get to the next one.

15. Repeat with the other side – topmost strand down in the middle (over 2) and the strand second closest to the top on the other side replaces it (ends up topmost).

 challah-15

challah-1616. Keep going until the end, gently tucking the ends under the bread in the end.

challah-17challah-18

17. Place the bread on a parchment lined sheet, and repeat with the other half of the dough.

18. Again, roll the strands and let them relax, then reroll, to get long and even ones.

19. Brush both breads with an egg wash of egg and milk. Do a second layer over the first.

challah-19

20. Let the breads rise until doubled, about 45 min.

21. Preheat oven to 350 F/ 180 C.

22. Bake about 40 min, until golden and hollow sounding.

23. Let cool on a wire rack.

challah-20

Whether you use a 3 strand braid or 4 or 6, this challah is so delicious. I love it with butter on top for extra richness, and it great for French toast too.